Myri - 3D Character Model and Rig
Overview/Goal
Myri was a 3d character I rigged and modelled for a 3D Modelling module.
Media/Gallery
Tools used
- 3ds Max (Modelling, UV Unwrap, Rigging + Animation)
- Substance Painter (Materials, baking)
- Unity (Making a animated character)
Progress
Concept Stage
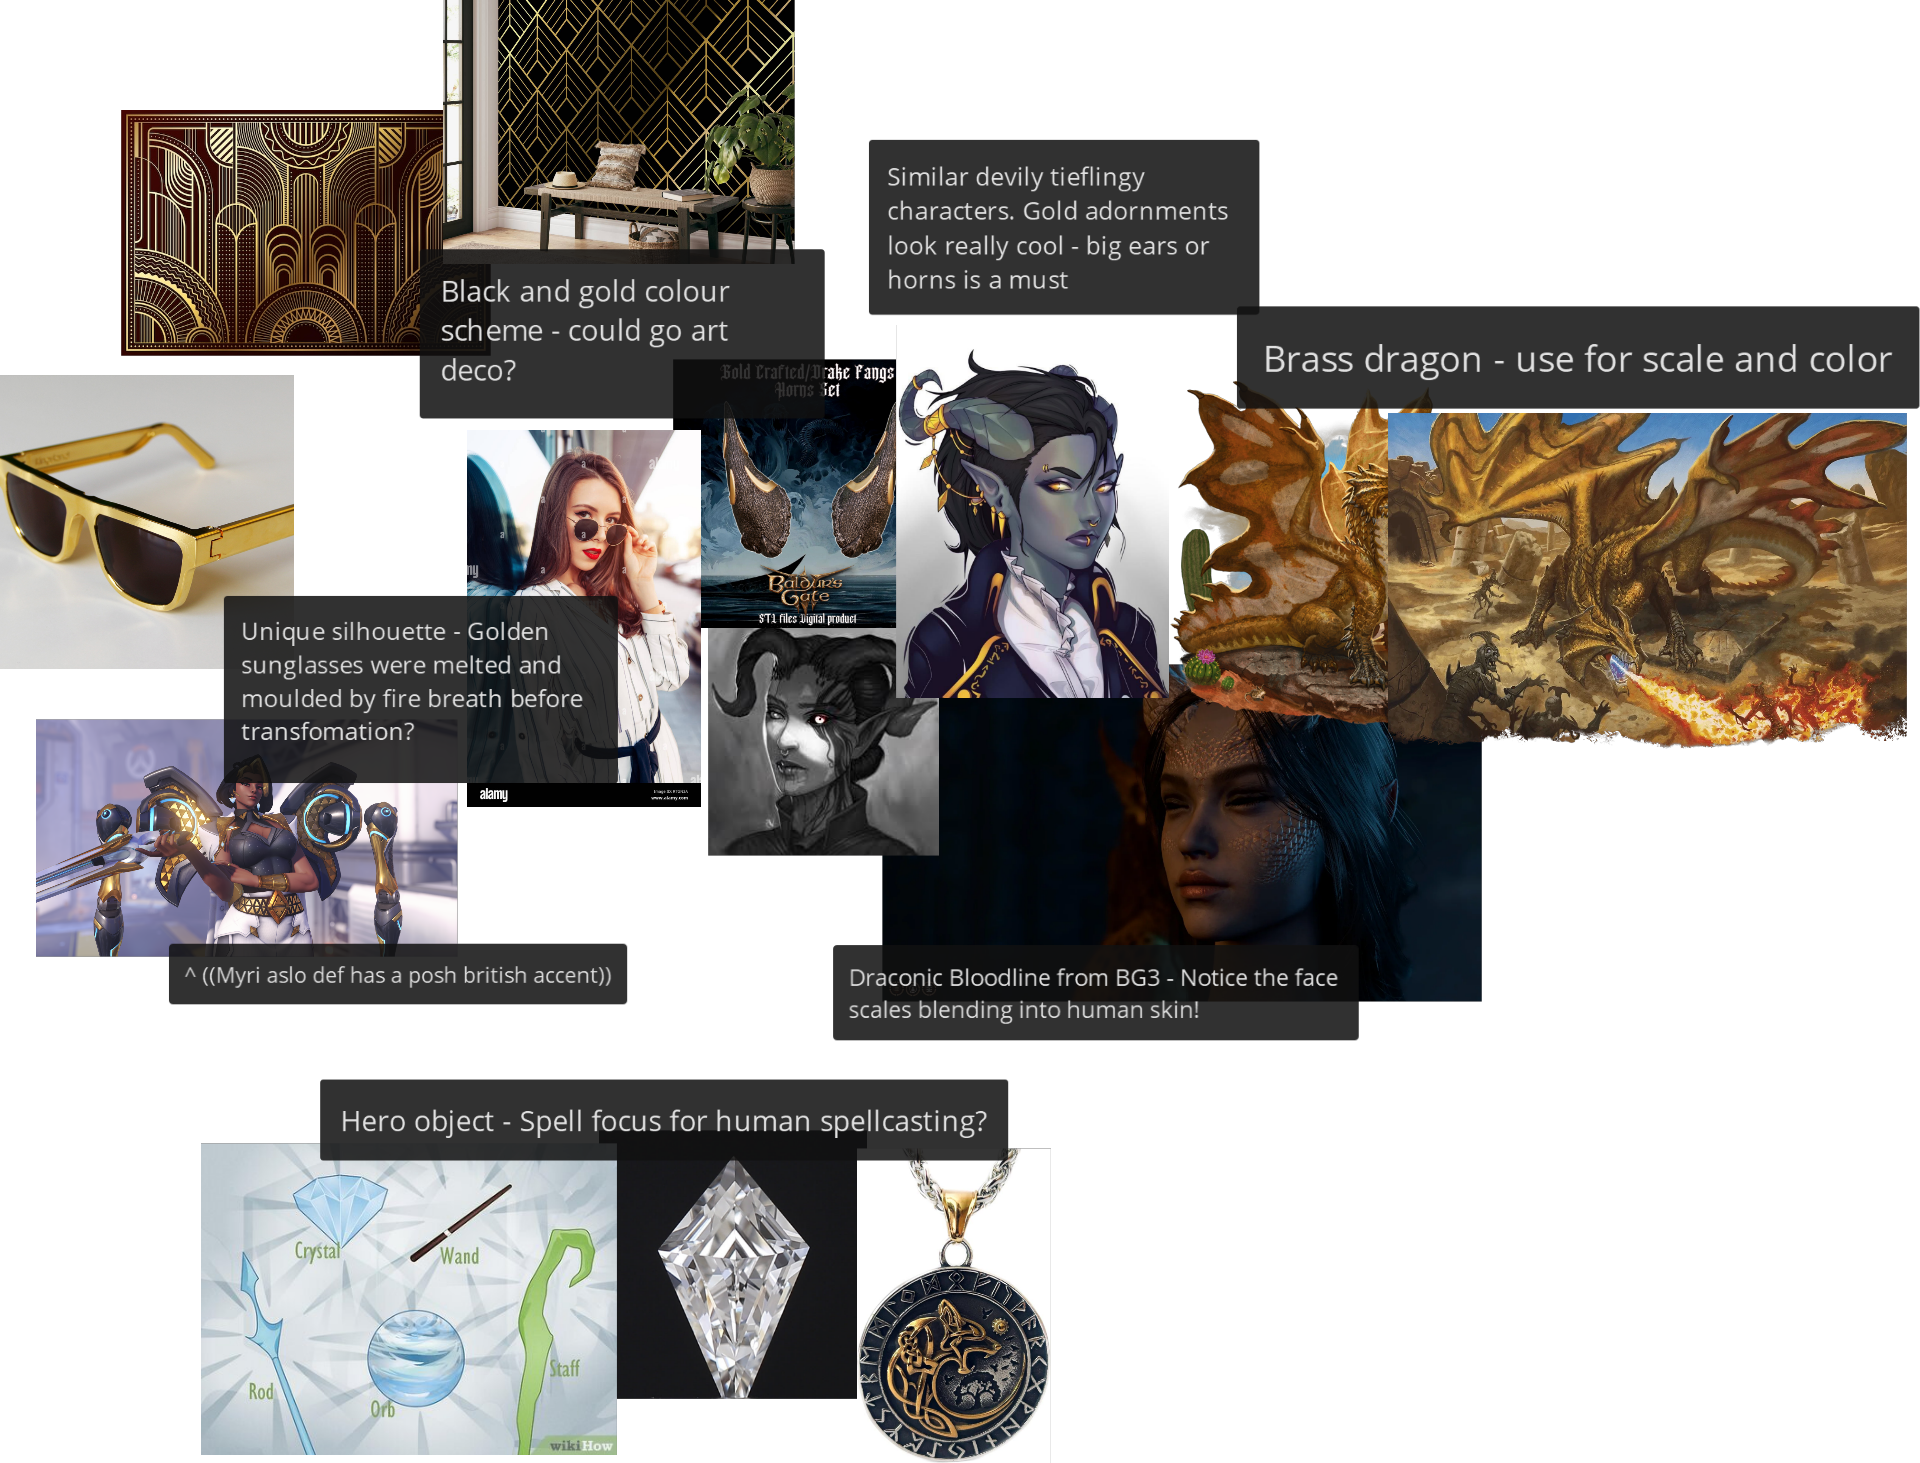
I started off with just the concept of 'a dragon trapped in a human body'. A colour palette was decided, with colours inspired by their gold-hoarding past and contrasting black/white to show the characters internal struggle.
I then created a moodboard to help explore themes and character story I wanted them to represent - they are a brass dragon, they wear gold from their old hoard, they have a spellcasting object as they cannot cast magic without it.
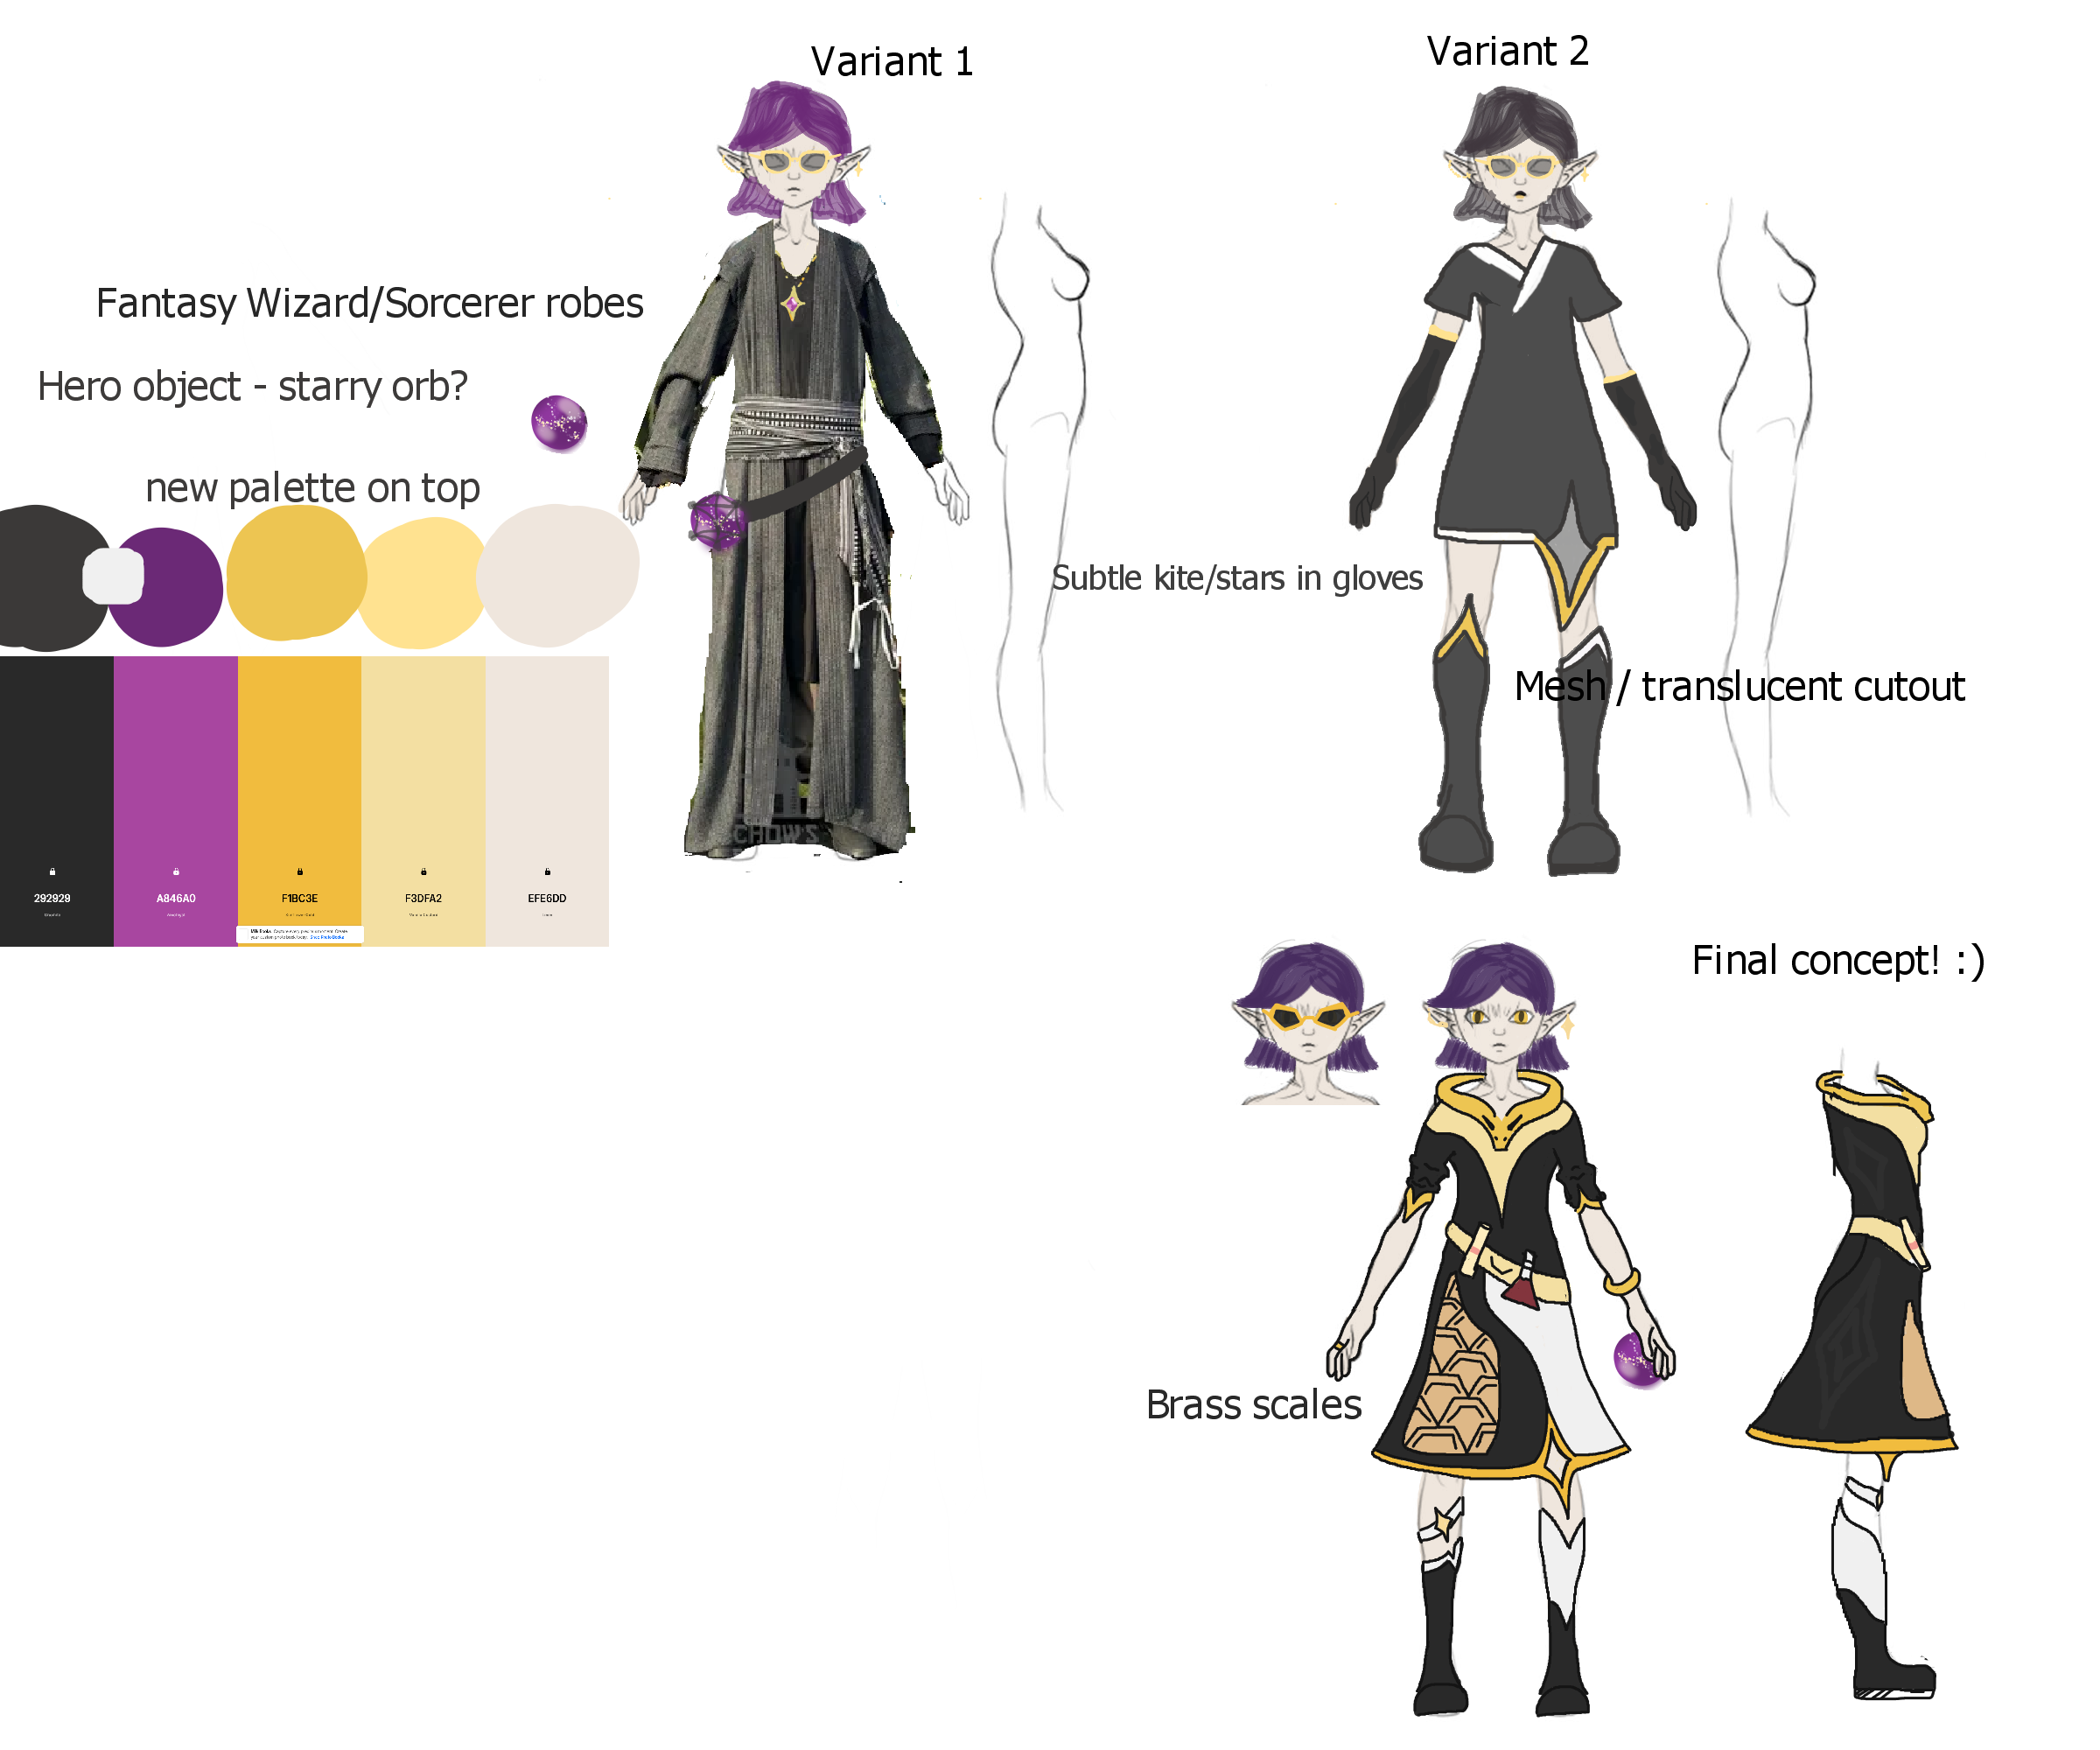
The final step of the concept stage was making some design variations with photobashes and art:
- The first had a more comfortable and practical robes look. She has a magical, starry orb that is slung across her waist in a belt.
- The second design had a very sleek, angular and fashionable design language with bold metallic trims.
- The third and final design had the goal of striking the balance between the two, being both practical and stylish. She wears a cloak with many draconic elements (face on the hood, scale panel) alongside gold jewlery and sunglasses.
Modelling Stage
The modelling stage was difficult as my first humanoid 3d model. I used progressive saves (save01, save02 etc.) to revert progress if needed.
Making the Body- Myri_01->07

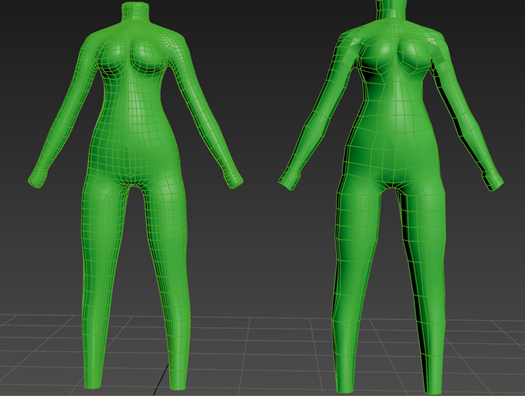
- First attempt at the body. This is where I set up my low/high poly modifier stack, using a turbosmooth modifer to create the high poly as I go. I struggled with symmettry fusing polys together at center, as well as the model looking too boxy.
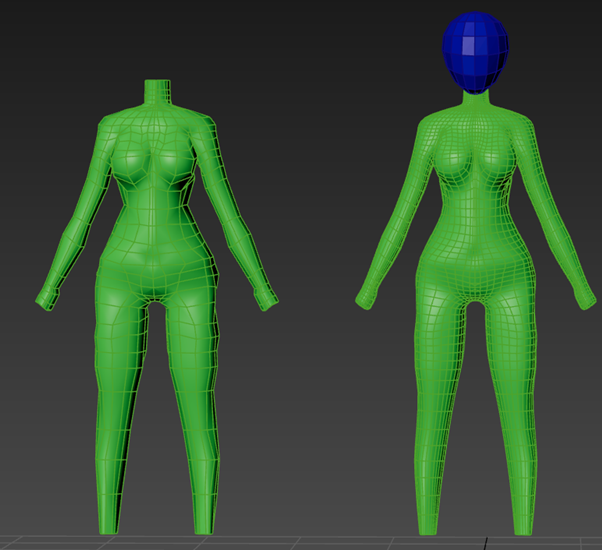
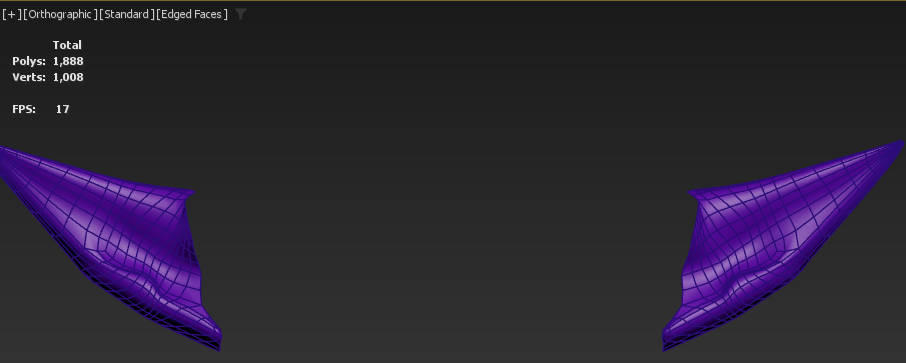
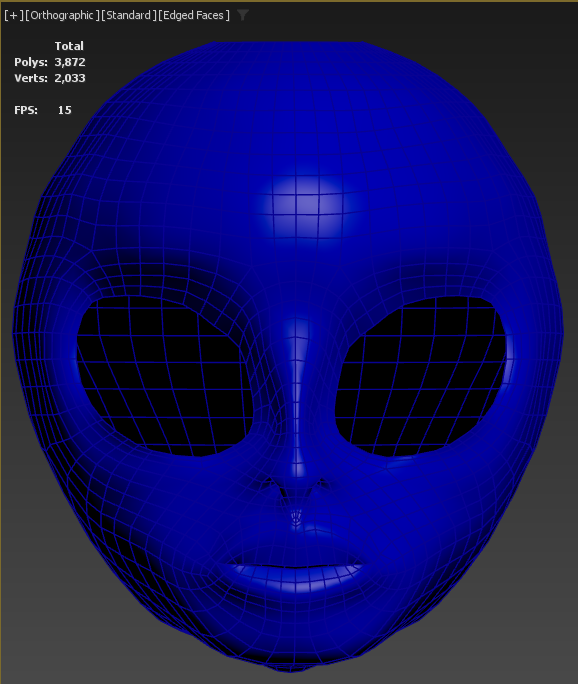
Starting the Face & Ears - Myri 08 -> 10
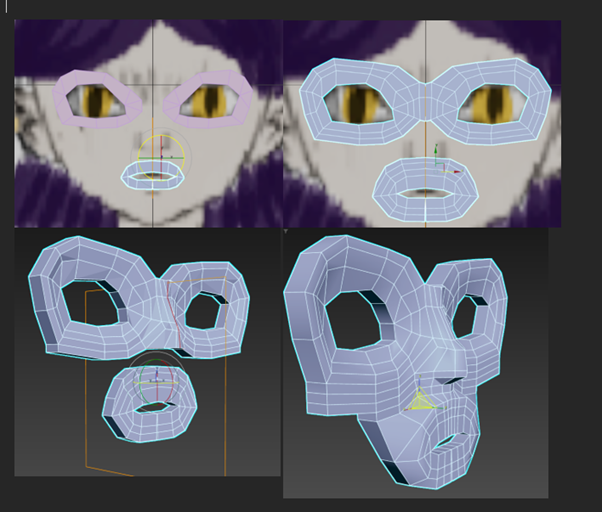
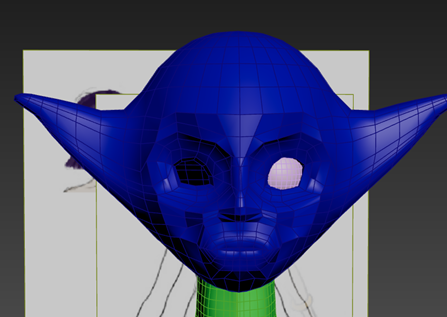
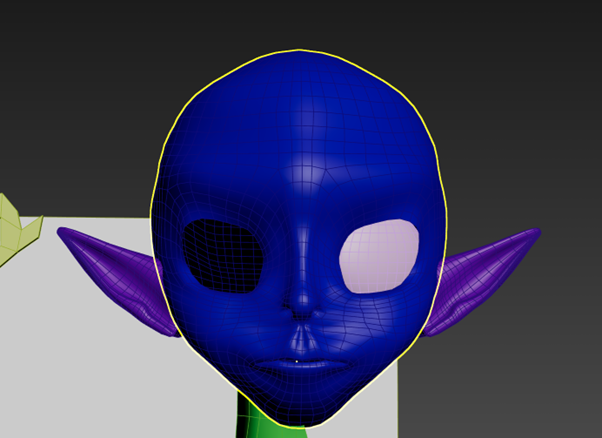
I took a flat approach to starting the face, where i would focus on good topology first before attaching it to the head. This made the face look very uncanny and poorly propotioned at first, but with smoothing and readjusting the width of many of the edges it came out a lot smoother and developed a more anime style.
The turbosmooth also destroyed the original ears, which were redone during this stage.
Fixing the body - Myri_15.max
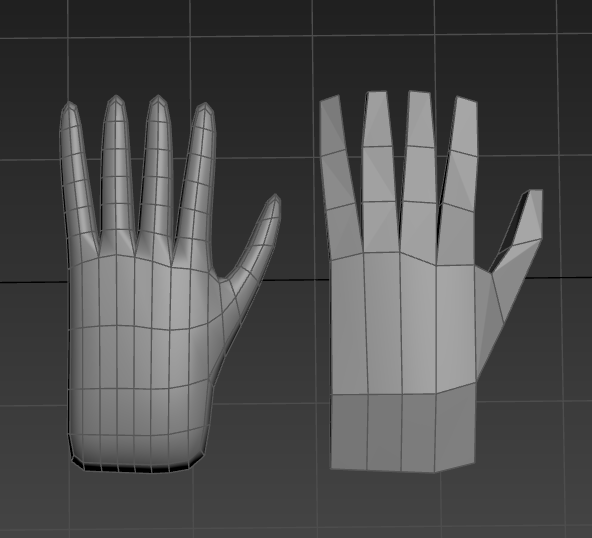
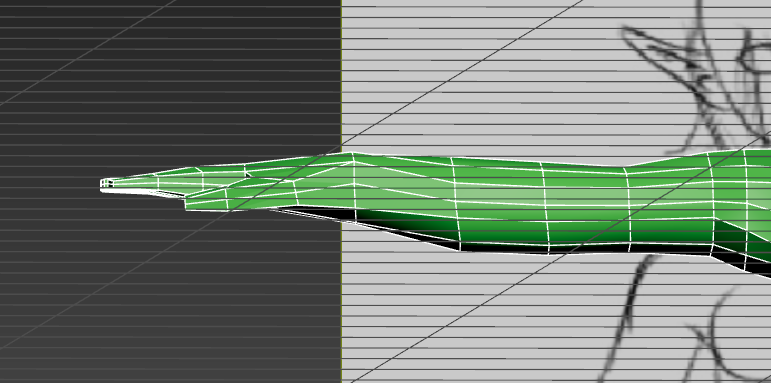
The hands needed redoing, which eventually cascading into redoing the entire arm from scratch.
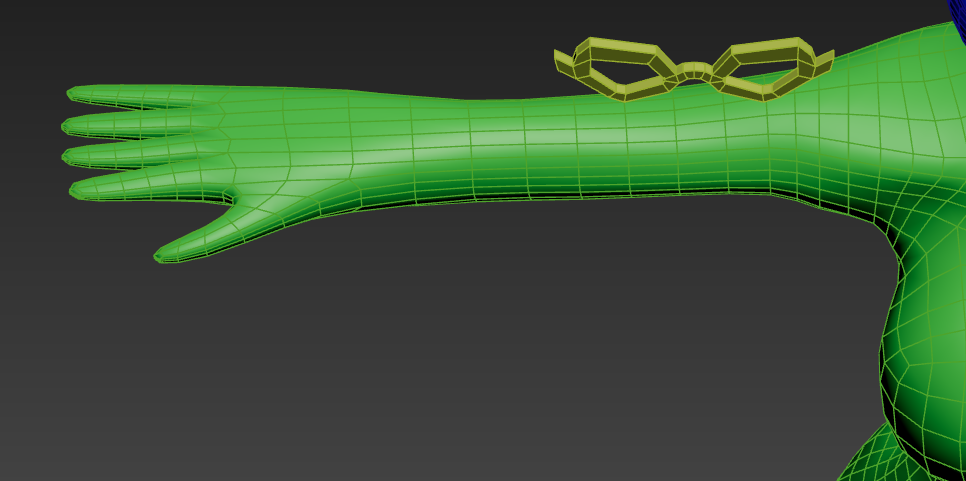
Final Base Mesh - Myri_15.max
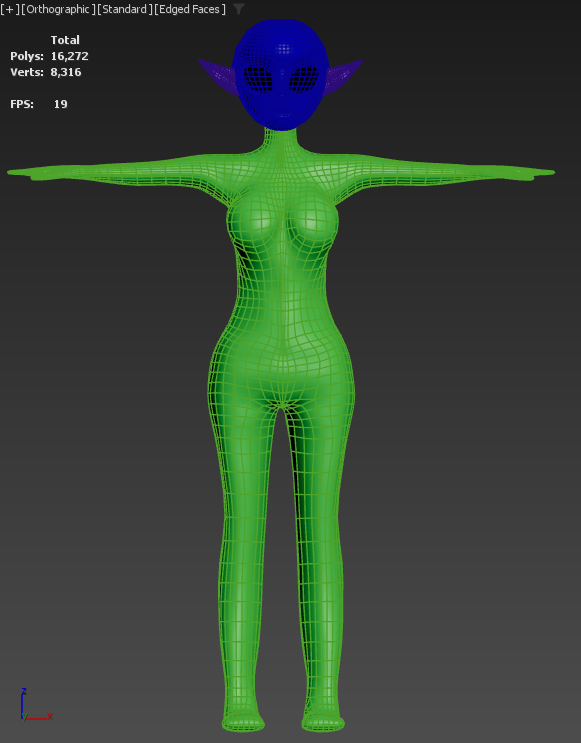
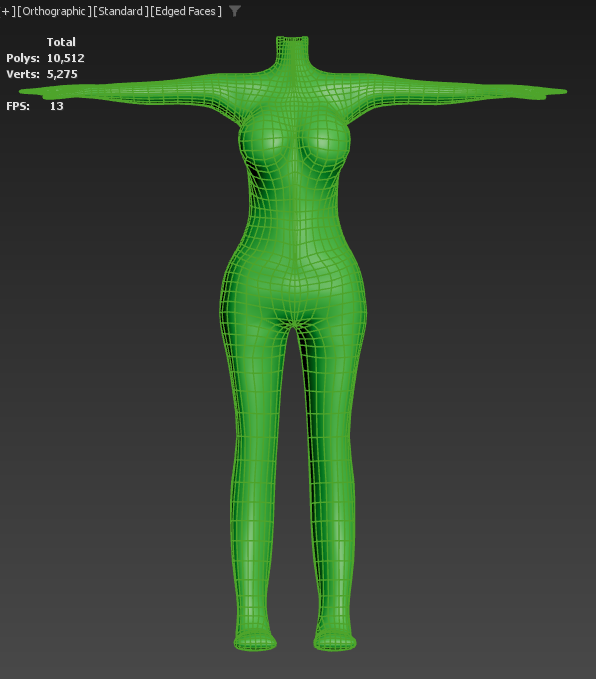
This stage was about finishing the base body mesh so I was ready to model clothing on top. It involved a mix of using soft selection to gently scuplt areas into more natural curves and retopologising. Many edge loops were removed which significantly reduced the models poly count. This let me add some back to the body where it was more needed for a even density across the model.
Mesh | Previous Poly Count (Myri_10) | Final Poly Count (Myri_15) | % Change |
Head | 6052 | 3872 | -36.02% |
Body | 9184 | 10,512 | +14.45% |
Ears | 2925 | 1888 | -35.45%
|
Total | 18,161 | 16,272 | -10.40% |
Reflection
[To be written.]